Food Photography 102: More Essential Steps for Getting Started

Hey Everyone! I hope you enjoyed what you learned last week in my Food Photography 101 post and have had a chance to implement some of those steps. Now it's time for food photography 102. I'm super excited to share these next steps with you, which can help you take your photography to the next level.
Lighting
I’m going to teach you about some basics of natural lighting, which is the easiest to begin with and the least expensive (free!). In my experience, direct lighting (in which the sun is directly hitting the subject) is not good. It makes the highlights too bright and the shadows too harsh. Find a window without direct sunlight. Experiment with where the light comes from. Try backlighting, sidelighting, and ¾ lighting.
Avoid putting too much into the photo—you don’t want the image to look cluttered. Figure out where you want the focus to be, and as you set up, keep asking yourself if the focus is being lost. Play around with changing where the focus is.

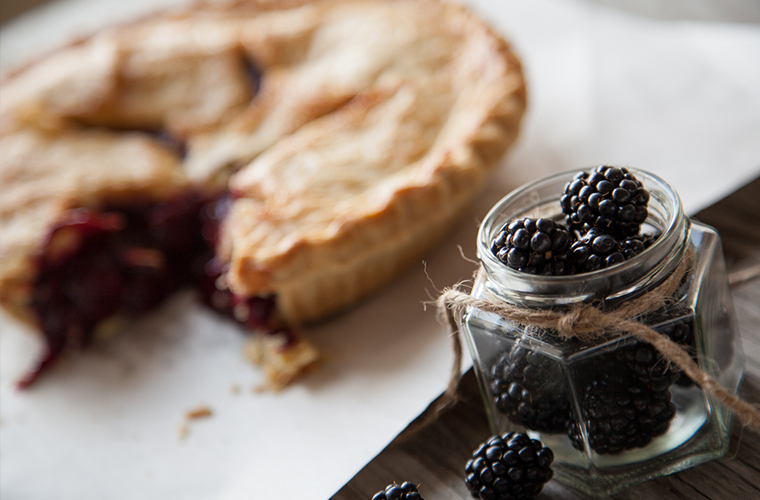
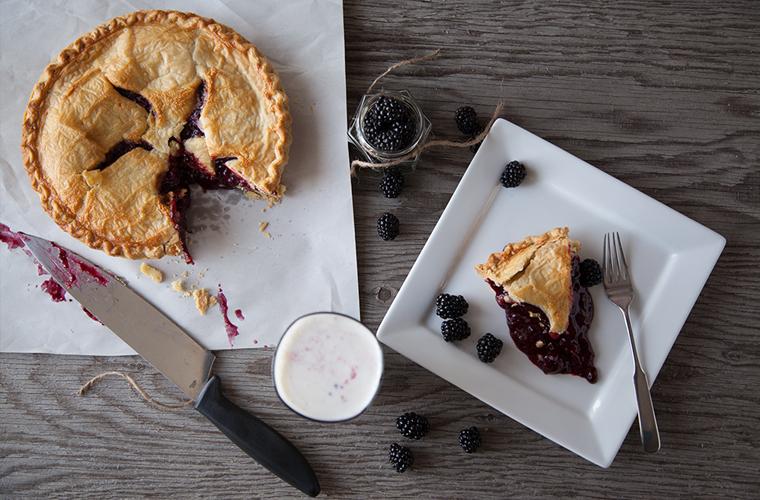
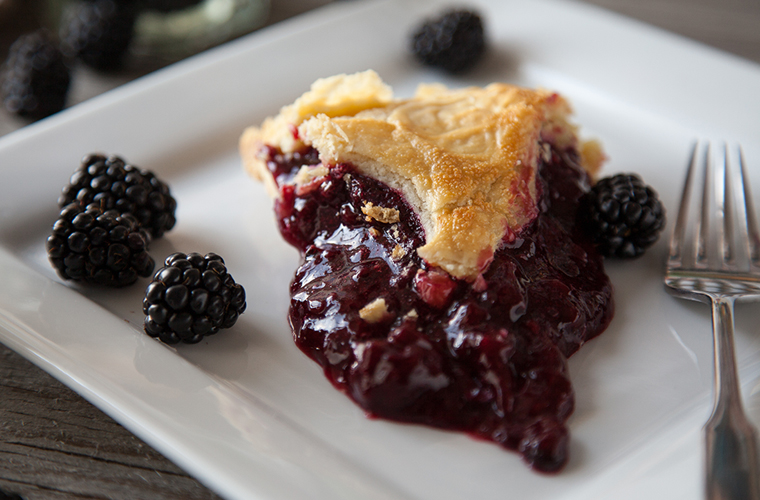
Experiment with angles! Try shooting directly above, or really close up. Don't be afraid to shoot from a bit of a distance either.

Here are some inexpensive materials to assist you in your artisanship:
- Foam core or poster board: Use it to bounce the light from your light source and get more light onto the shadow side.
- White/sheer sheet: If the light is too bright or you can’t find a location without direct sunlight, hang a sheet in-between the light source and your subject. Mmmmm…soft lighting.
- Makeup wedges: If that grapefruit just won't stay at the right angle, use the wedges to force the grapefruit into the perfect position.
- Small spray bottle filled with water: Right before you shoot, spritz those tomatoes to make them look fresher than the prince of Bel Air.
Editing
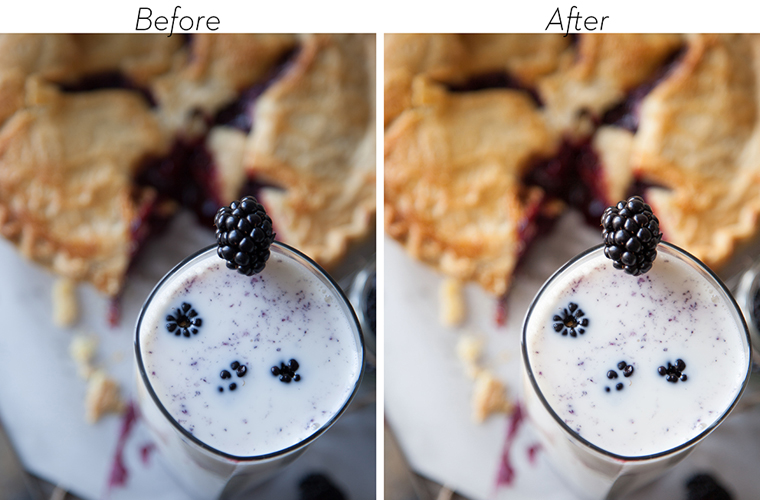
Some photographers are against any kind of postprocessing. That's all well and good, but I'm of a different school of thought. I believe in getting the image on the camera as close to right as is possible, but I don't think editing is a negative thing. I love today's editing capabilities. If you can make a photo even closer to how your eye perceives it, why not? Again, this is a personal preference.
One mistake to avoid is overediting. Don’t go crazy with effects. Ask yourself if your editing is taking away from the purpose of the photograph. If you feel you have gone to far, don’t be afraid to just start over with the raw image. Processing your photo too much will cause the image to look less natural—and thus less enticing. General rule of thumb: Get it as close to perfect as you can right on the camera, and then use editing to tighten up the image. If it needs to be a bit sharper or if the shadows are a touch too dark, editing can be a great friend if you want it to be. Just make sure the end result looks natural.
You don’t need Photoshop, Lightroom, or Aperature to edit your photos. Picasa and Picnik are other excellent options—and they're free. If you get to the point where you feel limited by Picasa and would like a step up in life, take a look at AdobeLightroom. It’s the perfect companion for the modern photographer. Also, I believe that Adobe is a trustworthy company when it comes to being consistently up-to-date with excellent software.

Persistence
You aren’t going to be a professional just starting out. Your photos aren't going to be the dream shots you see on the web, but you can and will improve if you practice consistently. Just as with a musical instrument or sport, if you don’t practice your photography skills on a consistent basis, your skills will not increase. We all have the potential to become what we desire if we put our minds, hearts, and time into it.


Leave a comment